
Sentinel
A three-stage guardrail agent for LLM-powered coding assistants that reviews proposed actions before execution, blocking destructive commands and maintaining an audit trail.
README
Sentinel






A three-stage guardrail agent for LLM-powered coding assistants.
Sentinel sits between an LLM agent and its execution environment, reviewing every proposed action before it runs. It integrates with tools like Claude Code, Cursor, and CodeX via the Model Context Protocol (MCP), acting as an always-on safety layer that can block destructive commands, flag scope creep, and maintain a full audit trail of every decision.
Supports both Stdio (local process) and SSE (web endpoint) MCP transports for maximum compatibility.
🎬 Demo
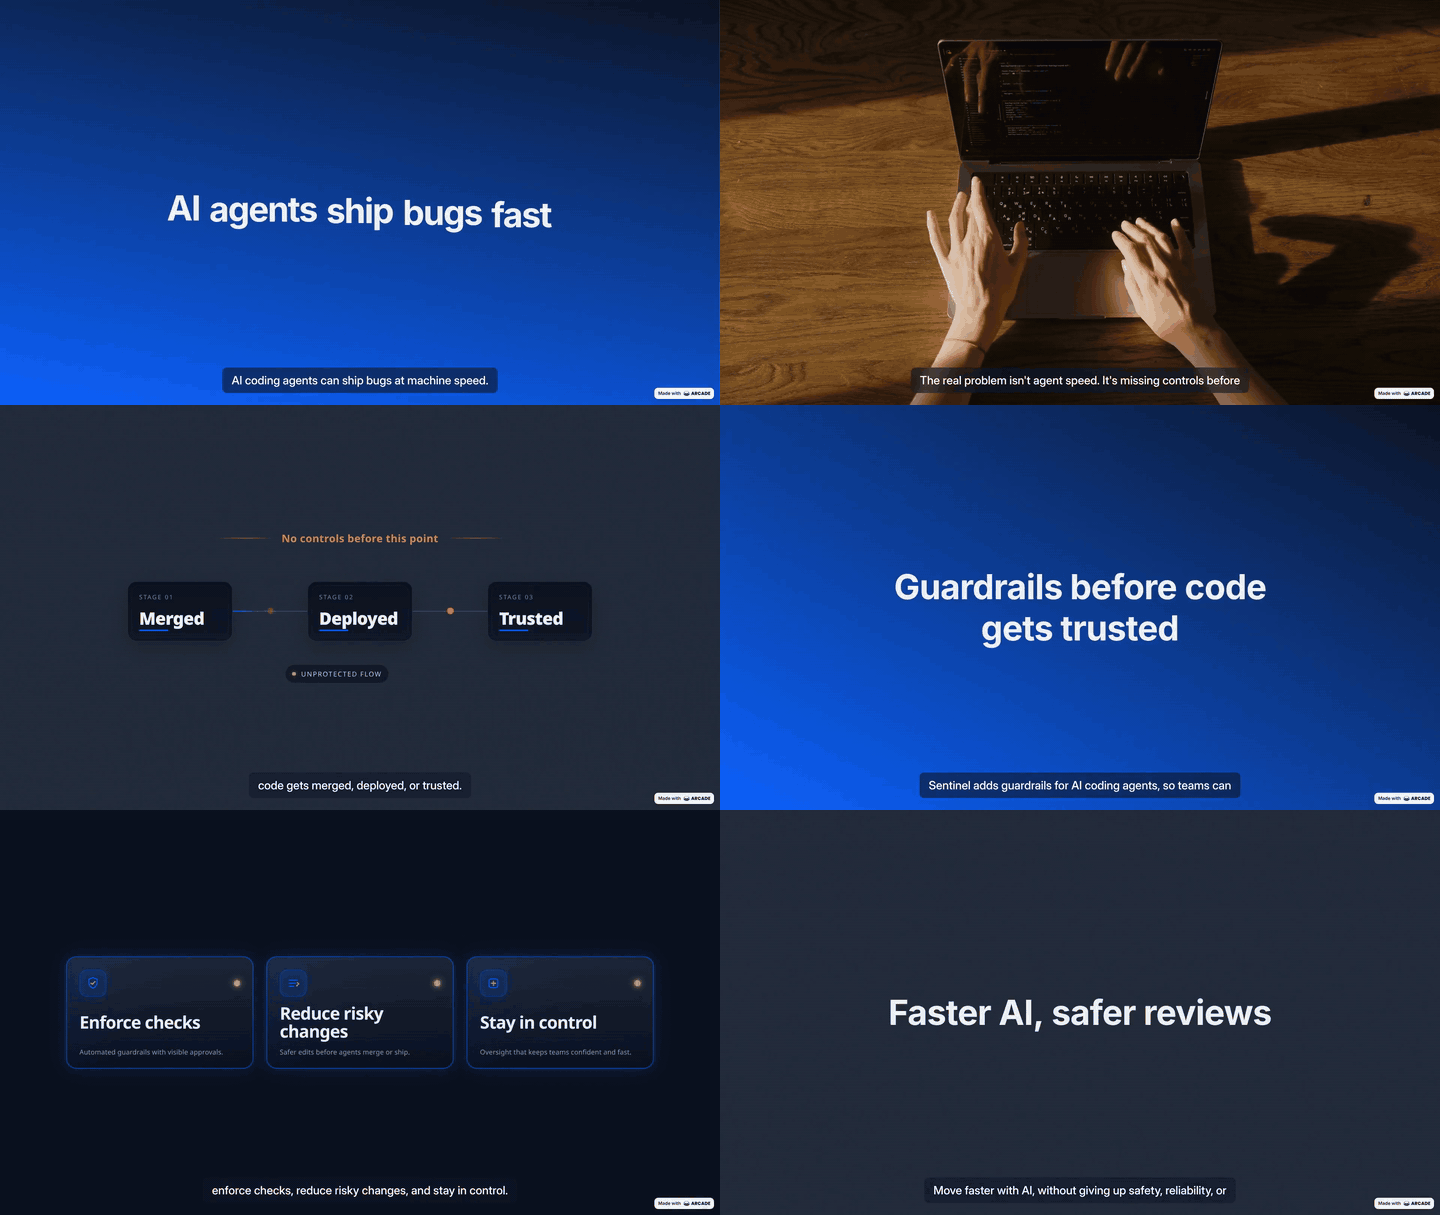
The Problem
Autonomous LLM coding agents can execute shell commands, modify files, push to remote repositories, and make network requests. This power comes with real risk: a single poorly-scoped prompt or a hallucinated action can cause data loss, expose credentials, or make irreversible changes to a production system.
Existing solutions are binary — either the agent runs everything without review, or a human must manually approve every step. Neither scales.
The Solution
Sentinel implements a multi-stage decision pipeline that handles the full spectrum from obviously safe to dangerously risky actions, using the fastest and most appropriate tool at each stage:
Stage 1 — Rules Engine: Pattern matching on a configurable YAML ruleset. Handles unambiguous cases (recursive deletes, credential exposure, root-level writes) in microseconds with zero network dependency.
Stage 2 — Trained Classifier: A TF-IDF vectorizer and Logistic Regression classifier trained on a labeled dataset of agent actions. Runs in milliseconds, entirely offline, and produces an explainable risk score with confidence bounds.
Stage 3 — LLM Reviewer: For ambiguous actions that statistical models cannot resolve reliably, a large language model evaluates the action in the context of the user's stated task. This is the only stage that makes a network call, and it only activates when the previous stages are uncertain. Supports Ollama (local), OpenAI, Anthropic, and Google Gemini.
Architecture
MCP Client (Claude Code / Cursor / CodeX)
        |
        +-- stdio transport (mcp_server/server.py)
        +-- SSE transport   (mcp_server/sse_server.py)
        |
        v
        | HTTP POST /review
        v
  api/main.py (FastAPI)        <- REST API, audit log, config management
        |
        v
  sentinel_core/orchestrator.py
        |
        +-- Stage 1: sentinel_core/rules_engine.py   (config/rules.yaml)
        +-- Stage 2: sentinel_core/classifier.py     (model_artifacts/model.pkl)
        +-- Stage 3: sentinel_core/llm_reviewer.py   (sentinel_core/model_manager.py)
        |
        v
  sentinel.db (SQLite)         <- append-only audit log
Classifier Performance
| Metric | Value |
|---|---|
| Training Examples | 828 (hand-labeled + synthetically generated) |
| Class Balance | 58% safe / 42% risky |
| 5-Fold Cross-Validation Accuracy | 76.3% ± 3.0% |
| CV Macro-F1 Score | 75.9% ± 3.1% |
| Hold-out Test Accuracy | 75.2% |
| Risky Class Precision | 70% |
| Safe Class Precision | 79% |
| Confident Predictions (Stage 2 handles directly) | 40% of traffic |
| Stage 3 LLM escalation rate | 60% of traffic |
The classifier's confidence threshold is set at 80%. Predictions above this threshold are resolved by Stage 2 without invoking the Stage 3 LLM, reducing average latency and eliminating API cost for 40% of all reviewed actions.
Top 5 features associated with risky actions: bash, delete, iptables, exec, secret
Top 5 features associated with safe actions: version, list, describe, test, check
Project Structure
sentinel/
├── api/
│   └── main.py                  FastAPI application, all HTTP endpoints
├── sentinel_core/
│   ├── orchestrator.py          Three-stage pipeline coordinator
│   ├── rules_engine.py          Stage 1: YAML rule matching
│   ├── classifier.py            Stage 2: sklearn inference
│   ├── llm_reviewer.py          Stage 3: LLM reasoning
│   ├── model_manager.py         Provider abstraction (Ollama / OpenAI / Anthropic / Gemini)
│   ├── audit_log.py             SQLite decision logger
│   └── model_artifacts/         model.pkl + vectorizer.pkl (gitignored)
├── mcp_server/
│   ├── server.py                MCP stdio server
│   └── sse_server.py            MCP SSE server (port 8002)
├── dashboard/
│   ├── index.html               Single-page control panel
│   ├── app.js                   Dashboard logic
│   └── style.css                Dashboard styles
├── config/
│   ├── rules.yaml               Stage 1 allow/block patterns
│   ├── model_config.yaml        Active provider and model selection
│   └── model_config.local.yaml  API keys (gitignored, never committed)
├── data/
│   └── training_examples.csv    Labeled dataset for Stage 2 training
├── train/
│   ├── train_classifier.py      Training script (scikit-learn)
│   └── generate_training_data.py  Synthetic training data generation
├── docs/
│   └── ARCHITECTURE.md          Internal design notes and rationale
├── start.bat                    Windows one-click launcher
├── Dockerfile                   Container image definition
└── requirements.txt
Design Decisions
Why three stages instead of one?
The design goal was to minimize latency and cost for the common case while preserving high-accuracy judgment for the ambiguous case. The vast majority of agent actions are either obviously safe (git status, npm install) or obviously risky (rm -rf /, git push --force). Routing both through an LLM would be slow and expensive. Routing both through a rules engine alone would miss the large middle ground.
The three-stage cascade solves this:
- Stage 1 handles the clear-cut cases deterministically, in microseconds, with no model in the loop. A pattern match on a known-dangerous string cannot hallucinate. This is the last line of defense for catastrophic commands.
- Stage 2 handles the statistical middle ground offline, in milliseconds, with an explainable coefficient-based model. We chose TF-IDF + Logistic Regression deliberately: the model trains in seconds on a CPU, produces inspectable coefficients, and is well-suited to short action text where risk is concentrated in specific keywords and n-grams. A neural network would add opacity without meaningfully improving the problem.
- Stage 3 handles genuine ambiguity — cases where context (the user's stated task, the scope of the session) matters more than surface-level tokens. This is where an LLM's reasoning ability adds real value, and it is the only stage that pays the latency and cost of a model call.
Why local-first for Stage 3?
We implemented Stage 3 with Ollama as the default to ensure that no action text leaves the user's machine unless they explicitly configure a cloud provider. This is important for codebases that may contain proprietary logic, internal hostnames, or sensitive file paths. The provider abstraction in model_manager.py makes it straightforward to switch to a cloud LLM without changing any Stage 3 logic.
Why a confidence threshold?
Stage 2 does not pass every prediction to Stage 3 — only predictions below an 80% confidence threshold. This gates the expensive network call behind a statistical signal. Predictions above the threshold are resolved by Stage 2 directly, which accounts for approximately 40% of all traffic in practice. The remaining 60% escalates to Stage 3, where LLM reasoning provides the most marginal value.
Setup & Quick Start
Step 1: Start Sentinel Backend & Dashboard
Windows (One-Click):
Double-click start.bat in the project root folder. The script will automatically:
- Create a Python virtual environment (
venv) if missing - Install required packages from
requirements.txt - Train the Stage 2 ML classifier if model pickles are missing
- Launch the FastAPI backend on
http://localhost:8000 - Launch the SSE server on
http://localhost:8002 - Launch the Live Dashboard on
http://localhost:8080in your default browser
Manual / Linux / macOS Setup:
# 1. Create and activate virtual environment
python -m venv venv
source venv/bin/activate        # macOS/Linux (use venv\Scripts\activate on Windows)

# 2. Install dependencies
pip install -r requirements.txt

# 3. Train classifier model (first run only)
python train/train_classifier.py

# 4. Run API Server (Terminal 1)
python -m uvicorn api.main:app --port 8000 --reload

# 5. Run SSE MCP Server (Terminal 2)
python mcp_server/sse_server.py --port 8002

# 6. Run Dashboard UI (Terminal 3)
python -m http.server 8080 --directory dashboard
Step-by-Step Client Integration Guide
Sentinel seamlessly connects to any MCP-compliant AI assistant. Follow the exact step-by-step guide below for your platform:
1. Claude Desktop (Windows / macOS)
- Start Sentinel: Ensure
start.bator the backend services are running. - Open Configuration File:
- Windows: Open
%APPDATA%\Claude\claude_desktop_config.jsonin Notepad or VS Code. - macOS: Open
~/Library/Application Support/Claude/claude_desktop_config.json.
- Windows: Open
- Paste the Configuration:
Add
sentinelundermcpServerswith the absolute path to your Python virtual environment executable andmcp_server/server.py:{ "mcpServers": { "sentinel": { "command": "C:\\path\\to\\sentinel\\venv\\Scripts\\python.exe", "args": [ "C:\\path\\to\\sentinel\\mcp_server\\server.py" ], "env": { "PYTHONPATH": "C:\\path\\to\\sentinel" } } } } - Restart Claude Desktop: Completely close and relaunch Claude Desktop.
- Verify Connection:
- In Claude Desktop, click the Hammer 🔨 / Settings icon in the bottom right corner of the chat window, or go to Settings > Developer.
- You will see a blue badge reading
sentinel runningwith active toolsreview_actionandget_recent_decisions.
2. Cursor IDE (Stdio & SSE Transport)
- Open Cursor Settings: Open Cursor IDE, click Settings (Gear Icon) in the top right or press
Ctrl + ,/Cmd + ,. - Navigate to MCP: Select Features from the sidebar, then scroll down to MCP Servers.
- Add New Server:
- Click + Add New MCP Server.
- Name:
sentinel - Type: Select
SSE(recommended for zero sub-process overhead) orstdio. - URL / Command:
- For SSE: Enter
http://localhost:8002/sse. - For stdio: Set
commandto yourpython.exeandargstomcp_server/server.py.
- For SSE: Enter
- Verify: The status indicator will turn Green (Connected).
3. Claude Code CLI
- Locate Config: Open
~/.claude/claude_code_config.json(or project-level.claude/config.json). - Add MCP Server:
{ "mcpServers": { "sentinel": { "command": "python", "args": ["mcp_server/server.py"], "cwd": "/path/to/sentinel" } } } - Run Prompt: When Claude Code proposes commands, it will invoke
review_actionautomatically before executing.
4. Web-Based IDEs & Custom HTTP Clients (SSE)
For web platforms, remote agents, or testing with the MCP Inspector:
- SSE Endpoint:
http://localhost:8002/sse - Messages Endpoint:
http://localhost:8002/messages/ - Test with Inspector:
npx -y @modelcontextprotocol/inspector sse http://localhost:8002/sse
5. Rapid Connection Utility in Dashboard
The dashboard provides a built-in interactive copy utility:
- Open
http://localhost:8080in your browser. - Click the Connect button in the top right header.
- Switch between Stdio and SSE tabs to generate auto-filled configuration snippets customized to your local file paths.
- Click Copy Config to Clipboard and paste directly into your client's config file!
Configuration
Stage 3 Model Provider
Open the dashboard at http://localhost:8080 and navigate to Model Settings.
Local (Ollama): Select any model detected from your local Ollama installation. No internet required. Pull a model with ollama pull <model-name> before selecting it.
API providers: Select Google Gemini, OpenAI, Anthropic, or a custom OpenAI-compatible endpoint. Enter your API key and click Save Model Settings. After saving, the dashboard automatically calls the provider's live /models endpoint and populates the model dropdown with every model your key has access to. You can then pick from the list or type any model name manually. If you leave the model field blank, Sentinel auto-selects the recommended default for that provider. The key is stored in config/model_config.local.yaml on disk, never written to the audit log, and never returned in full over the API (only the last 4 characters are shown in the dashboard).
Click ↻ Refresh next to the model field at any time to re-fetch the live model list without saving again.
Stage 1 Rules
Navigate to the Rules tab in the dashboard to add, edit, or remove pattern-matching rules. Rules support exact substring matching and regular expressions. Changes take effect immediately without restarting the server.
MCP Integration & Tools Initialization
Sentinel exposes its capabilities to coding assistants via the Model Context Protocol (MCP). The server uses FastMCP to initialize the tools and handle the transport layer (both stdio and sse are supported).
Tools Initialization
When the MCP server starts, it initializes the following tools and makes them available to the connected client:
| Tool | Initialization & Arguments | Description |
|---|---|---|
review_action |
action_text (str), user_task (str) |
Review a proposed agent action BEFORE executing it. Returns a verdict of ALLOW, BLOCK, or REVIEW. |
get_recent_decisions |
limit (int, default=20) |
Return recent entries from the audit log to provide the agent with context of past verdicts. |
API Reference
The FastAPI backend exposes the following endpoints. Full interactive documentation is available at http://localhost:8000/docs when the server is running.
| Method | Path | Description |
|---|---|---|
| GET | /health |
Health check, returns paused state and project path |
| GET | /status |
Lightweight paused/auth status |
| POST | /review |
Submit an action for review |
| POST | /pause |
Pause the guardrail pipeline |
| POST | /resume |
Resume the guardrail pipeline |
| GET | /log |
Retrieve recent audit log entries |
| GET | /rules |
Get current Stage 1 ruleset |
| POST | /rules |
Update Stage 1 ruleset |
| GET | /models/local |
List locally available Ollama models |
| GET | /models/config |
Get current model provider configuration |
| POST | /models/config |
Update model provider configuration |
| POST | /models/test |
Test the active model provider connection |
| GET | /models/available |
Fetch live list of models available on the saved API key |
| GET | /mcp/servers |
List registered MCP servers |
| POST | /mcp/servers |
Register a new MCP server |
| DELETE | /mcp/servers/{name} |
Remove a registered MCP server |
Example: Reviewing an action
curl -X POST http://localhost:8000/review \
  -H "Content-Type: application/json" \
  -d '{"action_text": "rm -rf /tmp/build", "user_task": "Clean up build artifacts"}'
Response:
{
  "action_text": "rm -rf /tmp/build",
  "verdict": "ALLOW",
  "decided_by_stage": "classifier",
  "reason": "Classifier predicted 'safe' with 89% confidence.",
  "log_id": 42
}
Stage 2 Classifier — Training
The classifier is trained on data/training_examples.csv, a hand-curated and synthetically augmented dataset of shell commands, SQL statements, git operations, and API calls labeled as safe or risky.
To generate additional synthetic training data:
python train/generate_training_data.py
To retrain after modifying or expanding the dataset:
python train/train_classifier.py
The script prints a full classification report and the top 15 features associated with risk, allowing the model's learned signals to be verified and understood without treating it as a black box.
Security Notes
- API keys are stored only in
config/model_config.local.yaml, which is gitignored by default. - The audit log (
sentinel.db) records action text and review decisions but never stores API keys. - If
SENTINEL_API_KEYis set as an environment variable before starting the server, all mutating endpoints (rules update, model config update, pause/resume) require that key via theX-Sentinel-Keyheader. - The guardrail can be paused from the dashboard. In paused mode, all actions return
REVIEW, requiring manual sign-off. This is intentionally conservative.
License
MIT License. See LICENSE for details.
推荐服务器

Baidu Map
百度地图核心API现已全面兼容MCP协议,是国内首家兼容MCP协议的地图服务商。

Playwright MCP Server
一个模型上下文协议服务器,它使大型语言模型能够通过结构化的可访问性快照与网页进行交互,而无需视觉模型或屏幕截图。

Magic Component Platform (MCP)
一个由人工智能驱动的工具,可以从自然语言描述生成现代化的用户界面组件,并与流行的集成开发环境(IDE)集成,从而简化用户界面开发流程。

Audiense Insights MCP Server
通过模型上下文协议启用与 Audiense Insights 账户的交互,从而促进营销洞察和受众数据的提取和分析,包括人口统计信息、行为和影响者互动。

VeyraX
一个单一的 MCP 工具,连接你所有喜爱的工具:Gmail、日历以及其他 40 多个工具。

graphlit-mcp-server
模型上下文协议 (MCP) 服务器实现了 MCP 客户端与 Graphlit 服务之间的集成。 除了网络爬取之外,还可以将任何内容(从 Slack 到 Gmail 再到播客订阅源)导入到 Graphlit 项目中,然后从 MCP 客户端检索相关内容。

Kagi MCP Server
一个 MCP 服务器,集成了 Kagi 搜索功能和 Claude AI,使 Claude 能够在回答需要最新信息的问题时执行实时网络搜索。

e2b-mcp-server
使用 MCP 通过 e2b 运行代码。

Neon MCP Server
用于与 Neon 管理 API 和数据库交互的 MCP 服务器

Exa MCP Server
模型上下文协议(MCP)服务器允许像 Claude 这样的 AI 助手使用 Exa AI 搜索 API 进行网络搜索。这种设置允许 AI 模型以安全和受控的方式获取实时的网络信息。